
 1300 285 885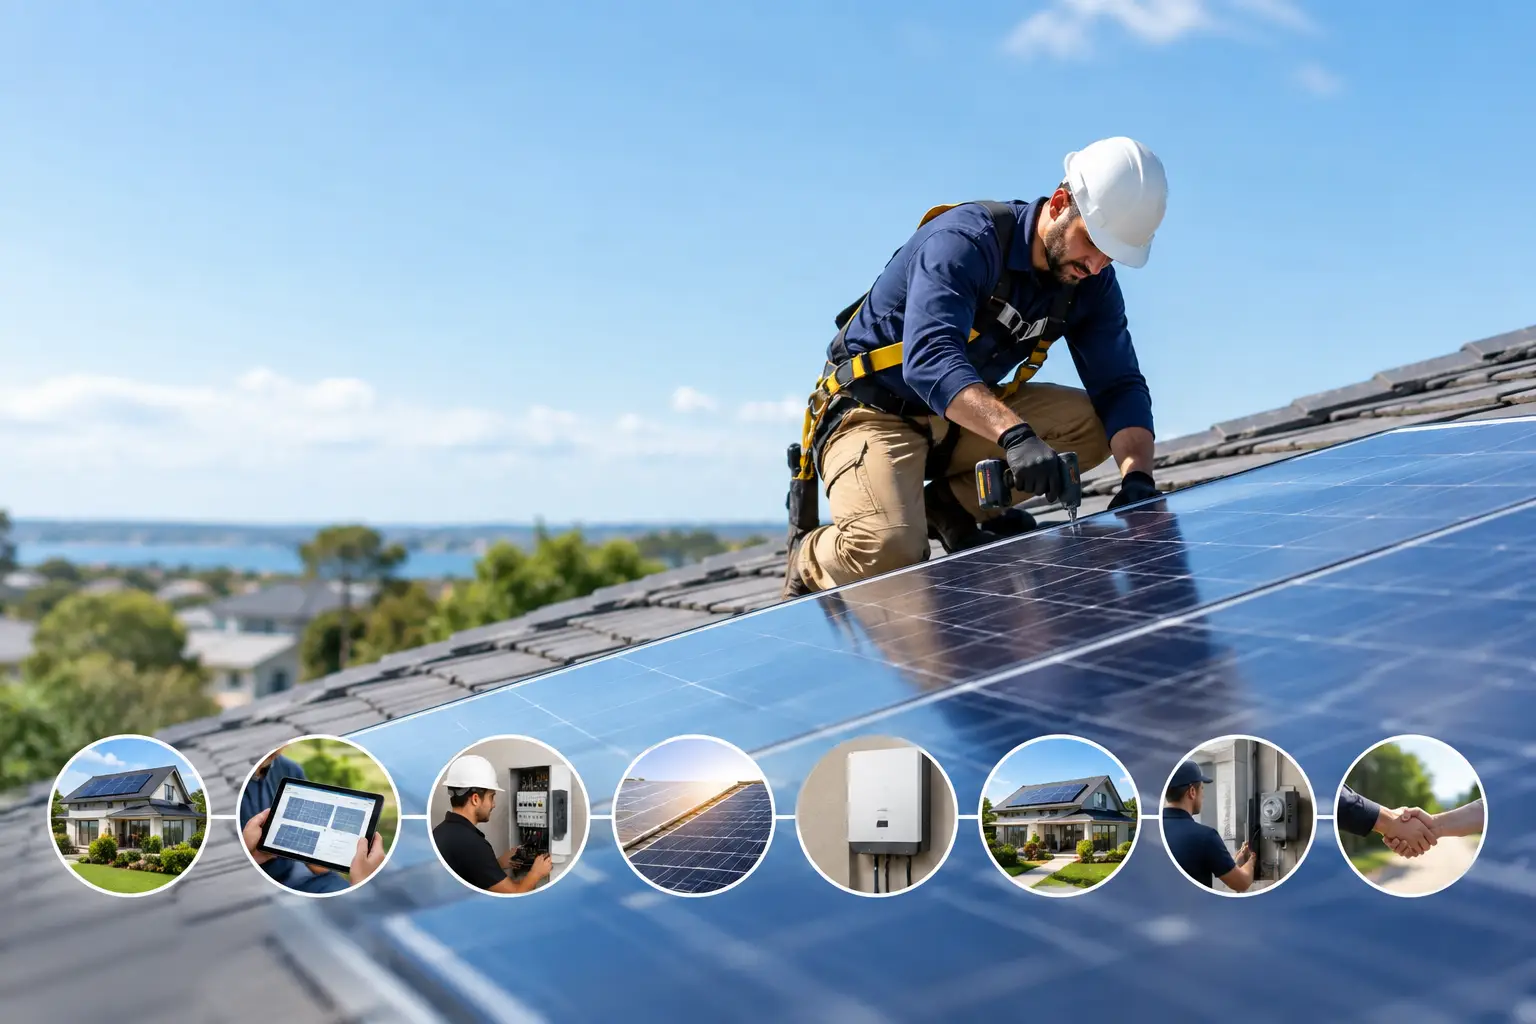
Your electricity bill does not care whether you understand inverters, switchboards or STCs. It simply arrives each quarter. The solar installation process Australia homeowners and businesses follow is designed to turn available roof space into lower reliance on grid electricity, without leaving you to manage the technical details alone.
A quality system is not just panels fitted to a roof. It is the right system size for your daytime energy use, a safe electrical design, approved equipment, correct paperwork and a clean handover. Here is what should happen from your first enquiry through to generating your own solar power.
Solar installation process in Australia: what happens first
1. Start with your energy use, not panel count
The best starting point is your recent electricity bills. They show how much energy you use, when you use it and whether your consumption rises in summer, winter or across business operating hours. That information helps determine whether a standard residential system, a larger commercial array or a battery-ready design makes sense.
A household that uses most electricity during the day may benefit from a different setup than a family that is out until evening. The same applies to businesses. A workshop with daytime equipment loads and an office with heavy air-conditioning demands should not be treated as identical projects simply because their roofs are a similar size.
Your solar consultant should also ask about future changes. An EV, pool pump, electric hot water system, air-conditioning upgrade or expanded business operations can all change the system that suits you. Planning ahead can prevent a system from becoming undersized too soon.
2. Receive a tailored system recommendation
Once your usage and property needs are clear, the installer can recommend a system package and configuration. This normally covers the proposed panel capacity, inverter type, roof layout, expected generation and whether a solar battery or EV charger should be included now or allowed for later.
There is no one-size-fits-all answer. A 6.6kW system can be a strong match for many medium homes, while larger households and commercial sites may require substantially more generation capacity. The goal is to match solar production to your consumption pattern, roof potential and long-term plans.
Trusted panel and inverter brands matter here. Solar equipment will be exposed to heat, wind and rain for years, so product quality, manufacturer support and warranty terms should be part of the discussion. A lower-output design with a poor layout or unsuitable equipment is not a smart shortcut.
3. Check the site and roof conditions
Before installation is locked in, your property needs a site assessment. This may involve aerial imagery, photos, a remote review or an on-site inspection, depending on the project. The assessment confirms practical details that cannot be guessed from an electricity bill.
Installers look at roof orientation, pitch, shading from trees or neighbouring buildings, available mounting areas and roof condition. North-facing panels can produce strong annual generation, but east- and west-facing arrays can be valuable too, especially where energy use is spread across the morning and afternoon.
The team will also consider access, safety requirements, cable routes, inverter location and the condition of the switchboard. Older switchboards, limited roof space or complex commercial sites may need additional design work. That is not a reason to abandon the project. It is a reason to make the scope clear before installation day.
4. Confirm approvals, incentives and network requirements
Solar installations involve more than roof work. Your installer should manage or support the key administration, including the application to connect the system to the local electricity network. Approval requirements vary by distributor, location and system size, particularly for larger commercial and industrial installations.
Eligible systems may also create Small-scale Technology Certificates, commonly called STCs. These incentives can reduce the upfront commitment for qualifying small-scale solar installations, subject to current rules, equipment eligibility and installation requirements. State-based programs and battery incentives can change, so it is worth checking what applies at the time you proceed.
For strata properties, heritage-listed buildings, leased premises or larger sites, there may be additional permissions to obtain. A reliable provider will identify these requirements early rather than treating them as an afterthought.
5. Schedule installation with a qualified team
When the design, approvals and paperwork are ready, installation can be scheduled. On the day, qualified installers secure the mounting system, fit the panels, install the inverter and complete the electrical work. The work must meet applicable Australian standards and be carried out by appropriately licensed professionals.
For a straightforward home system, the physical installation is often completed within a day. Larger roofs, batteries, switchboard upgrades or commercial systems can take longer. Weather and site access can also affect timing, particularly where roof work must be carried out safely.
A professional team protects your property while they work. They should communicate arrival times, access needs and any temporary power interruption required for electrical work. Clean cable management, secure mounting and careful commissioning are signs of an installation built for reliable long-term performance, not just a quick finish.
6. Connect, test and commission the system
Once the equipment is installed, the electrician tests the system and commissions the inverter. This confirms that the solar array, inverter, safety isolators and monitoring platform are operating correctly. Your system may be generating power before the final meter configuration is complete, but export to the grid depends on your network and retailer arrangements.
This step is where the quality of the installation becomes visible. The inverter should show normal operating status, safety settings should be correctly configured and the monitoring app should be connected where available. If a battery has been included, the team should also explain its operating mode, backup capability and any limitations during outages.
Not every battery provides whole-home backup. Some are designed to support selected circuits, while others need additional equipment to provide broader backup coverage. Ask this question before installation if outage protection is a priority for your household or business.
7. Arrange meter configuration and retailer updates
Your electricity meter must be capable of recording solar imports and exports correctly. In many cases, the installer or their metering partner coordinates the required request, but the electricity retailer and network distributor each have a role in the process.
Timing varies. The solar system may be ready before the meter work is finalised, and your installer should explain what you can expect during that period. Once the meter is configured, you can discuss an appropriate electricity plan and any feed-in arrangements with your retailer.
For commercial customers, this is also a good time to review how solar affects site operations. Load management, operating hours and demand patterns can all influence the value gained from the system. Solar works hardest when the power it generates is used on-site.
8. Understand monitoring, maintenance and support
Solar is low-maintenance, but it is not set-and-forget. Monitoring gives you a practical view of daily generation and can alert you to unusual drops in performance. It also helps you see how your household or business uses power alongside solar production.
Panels are designed to withstand Australian conditions, though dust, leaves, bird droppings and heavy shade can affect output over time. Cleaning needs depend on your location and roof conditions. It is often sensible to inspect the system visually from the ground and arrange professional help if performance changes or there is visible build-up.
Keep your handover documents, warranties, compliance certificates and inverter details in a safe place. If you add a battery, EV charger or new high-energy appliance later, let your solar provider know. The system may need settings, capacity or switchboard considerations reviewed before the upgrade.
What can delay a solar installation?
Most solar projects move smoothly when the design reflects the property from the beginning. Delays usually come from factors such as network approval timeframes, poor weather, access restrictions, switchboard upgrades, complex roof layouts or missing approvals from a landlord, strata manager or property owner.
The practical answer is clear communication. Provide recent bills, flag planned renovations or new appliances, and mention anything unusual about the property early. A good solar partner will be direct about what is included, what needs attention and what happens next.
For homeowners, the right installation means more control over household energy. For businesses, it can be a practical step towards reducing operating costs and demonstrating a commitment to cleaner energy. Solar Miner helps make the process straightforward with tailored system recommendations, quality equipment and support from initial assessment through to switch-on.
The best time to ask detailed questions is before the panels go up. Get clear on your energy goals, future plans and backup expectations, then choose a system designed to keep delivering long after installation day.